Discovering jelly soap turned my bath routine from mundane to magical. A captivating social media video first caught my eye, showcasing the vibrant, jiggly wonder of DIY jelly soap. This journey wasn’t just about trying something new; it was about diving into creativity and making everyday moments joyful. I embarked on this adventure with curiosity, learning and experimenting along the way, and ultimately creating my own colorful, fragrant jelly soap. Join me as we explore the delightful world of jelly soap together, transforming bath time into an adventure.
What is Jelly Soap?
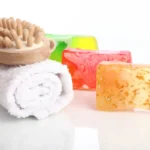
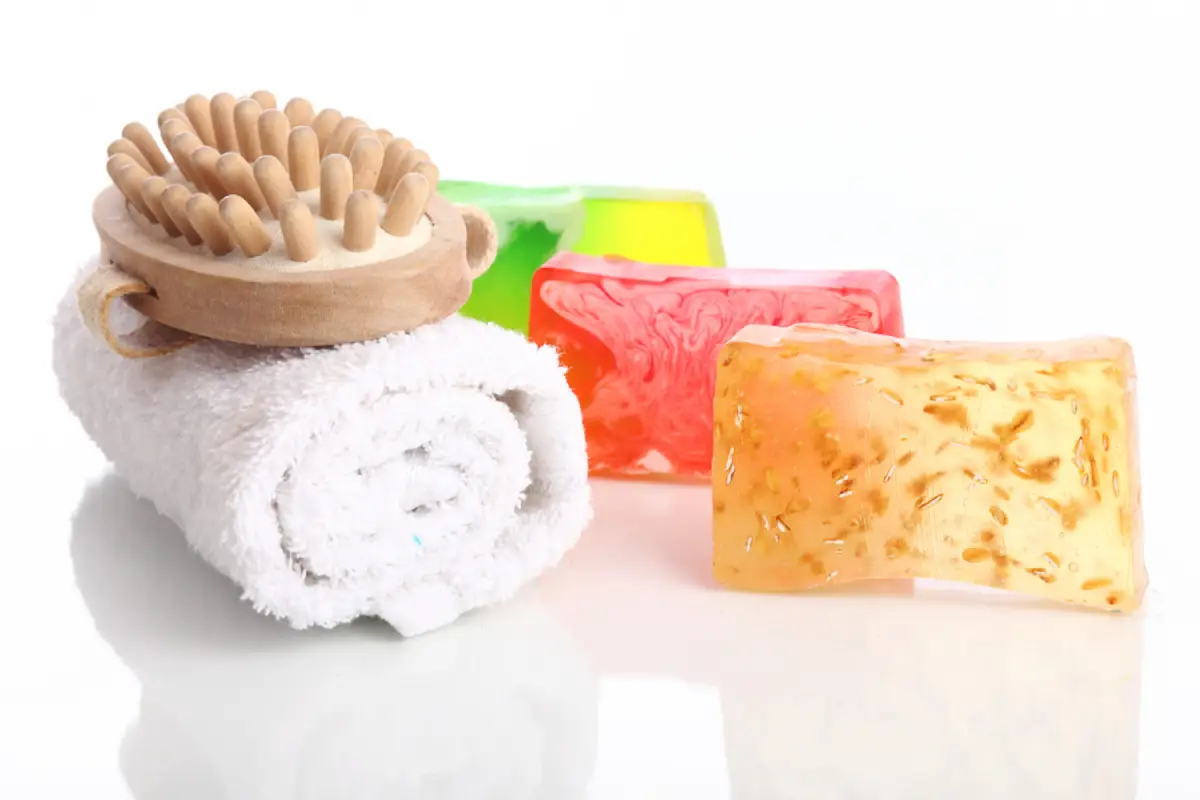
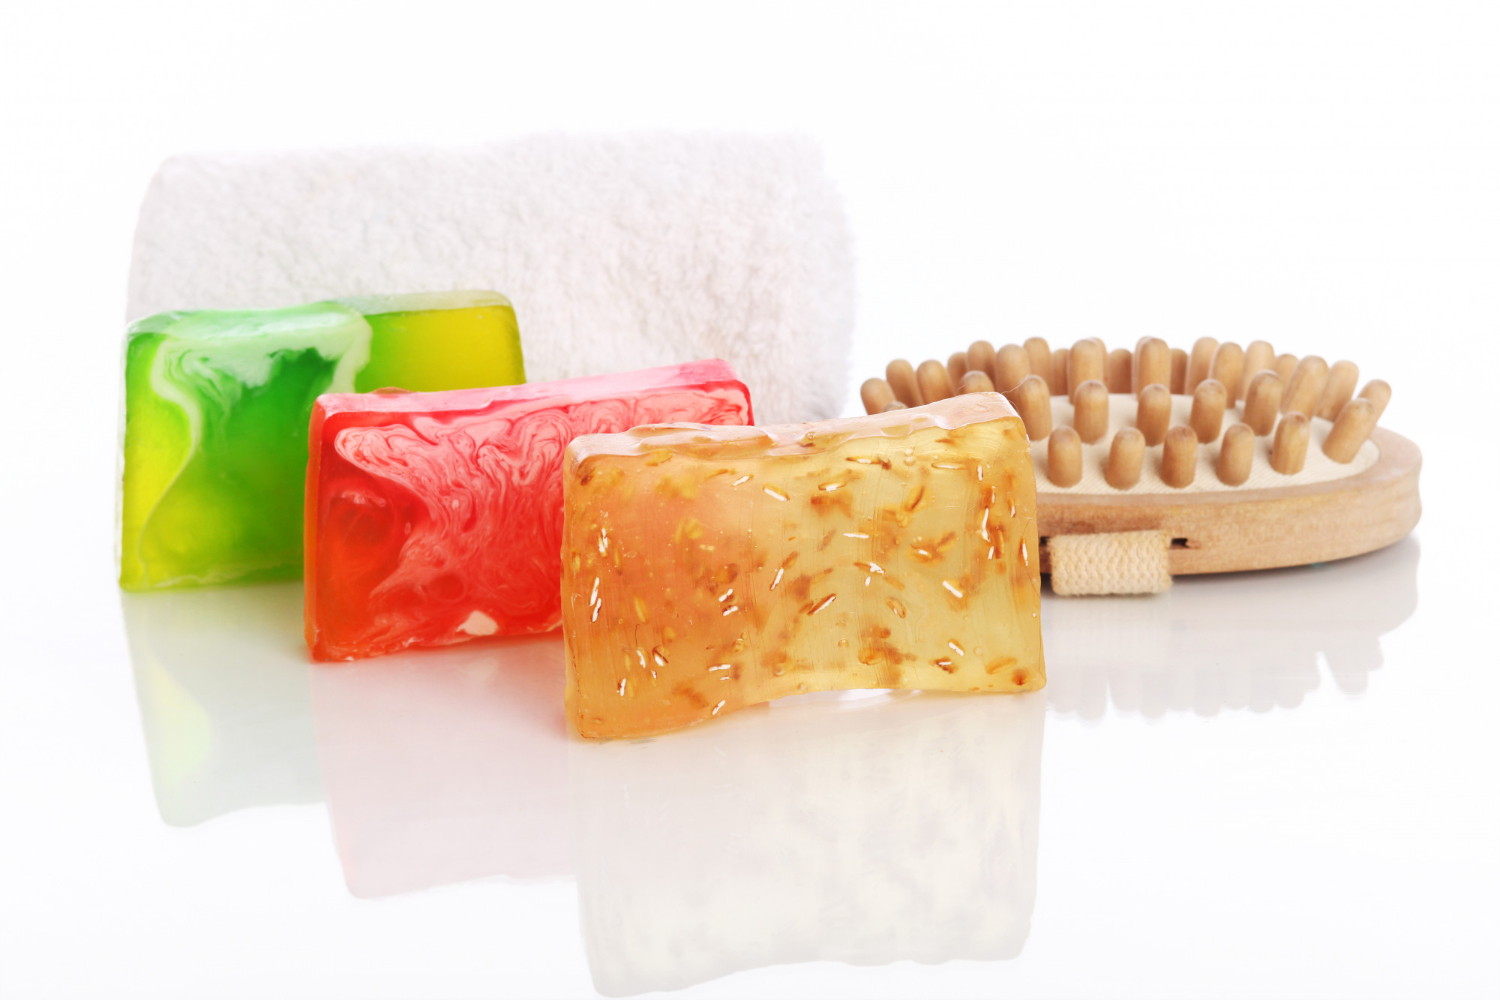
Jelly soap is a unique twist on traditional soap. It’s fun, wiggly, and colorful. Imagine the playful texture of gelatin combined with the cleansing power of soap. This innovative product has taken the DIY and bath product world by storm. Why? Because it offers a novel way to enjoy bath time. Jelly soap is not just soap; it’s an experience. It turns a routine activity into a playful adventure. Moreover, it’s customizable. You can choose the colors, scents, and shapes that delight you. In this section, we’ll dive deeper into what makes jelly soap special and why it’s worth trying. Let’s get started on this exciting exploration.
Why I Decided to Make My Jelly Soap?
Curiosity and a craving for uniqueness sparked my journey into making jelly soap. Store-bought soaps were adequate, yet they lacked a personal touch. I yearned for more than mere cleanliness; I sought an immersive, sensory experience. The prospect of customizing the texture, color, and scent of my soap was incredibly enticing. Furthermore, the DIY aspect promised a fulfilling challenge.
Additionally, I was drawn to the eco-friendly potential of homemade jelly soap. By selecting my ingredients, I could steer clear of harsh chemicals and minimize plastic packaging. This consideration was crucial for me, as I aimed to make my daily routine more sustainable.
Moreover, the fun factor was a decisive turning point. The idea of transforming my shower into a playful, aromatic haven was too tempting to resist. I imagined creating vibrant soaps with my favorite scents, turning my bathroom into a mini-spa. This vision propelled me to research, gather materials, and embark on my jelly soap-making adventure.
In the following sections, I’ll detail the steps I took, from choosing ingredients to crafting the final product. Join me as I navigate through the trials, errors, and triumphs of my DIY journey.
Gathering the Ingredients for Jelly Soap
Embarking on my jelly soap-making adventure, the first step was to gather the right ingredients. I aimed for a blend of effectiveness, skin-friendliness, and environmental sustainability. Here’s what I needed:
- Gelatin or Agar Agar: For the jelly-like consistency. Agar agar is a great vegetarian alternative to gelatin.
- Liquid Soap Base: This forms the cleansing component. I opted for a castile soap base for its natural and gentle properties.
- Essential Oils: For fragrance. I chose lavender and citrus for their soothing and refreshing qualities.
- Colorants: To add a splash of fun. I used natural food coloring to keep things eco-friendly.
- Molds: Silicone molds work best for easy removal of the set soap.
- Distilled Water: To dissolve the gelatin or agar agar.
- Glycerin: Optional, for added moisture.
I sourced my ingredients from local health stores and online, prioritizing organic and eco-friendly options. This not only ensured the quality of my jelly soap but also aligned with my goal of reducing environmental impact.
With my ingredients ready, I felt a mix of excitement and nervousness. I was about to turn these separate components into something playful and practical. The process promised to be a learning curve, but I was eager to dive in. Next, I’ll share the step-by-step instructions that transformed these raw ingredients into delightful jelly soap.
Creative Twists: Personalizing My Jelly Soaps
Adding Colors and Scents
Initially, I focused on combining colors and scents to match specific moods or themes. For instance, to create a calming effect, I blended lavender essential oil with a soft purple dye. Conversely, for an energizing morning boost, I mixed citrus scents with bright orange. This process was not just enjoyable but also a way to customize my bathing experience to my daily needs.
Experimenting with Shapes
Furthermore, silicone molds became invaluable tools. From simple stars and hearts to intricate designs like flowers and seashells, each shape added a unique flair to the soaps. I even ventured into making holiday-themed soaps, such as pumpkin shapes for Halloween and trees for Christmas, which turned out to be fantastic gifts.
Layering and Textures
Moreover, I played with layering different colors to achieve gradient effects and introduced textures. For example, I sprinkled dried lavender at the bottom of the mold before pouring in the soap mixture, adding both a natural exfoliant and an element of visual interest.
Embedding Surprises
Additionally, for an element of fun, I embedded small toys in the center of some soaps, making them perfect for kids. The anticipation of the soap dissolving to reveal a hidden treasure transformed bath time into an exciting quest.
Personalized Labels
Lastly, I designed personalized labels for each soap, detailing the ingredients and naming my creations. This added a professional and thoughtful touch, making the soaps even more special as gifts.
Through the process of personalizing my jelly soaps, I discovered the immense joy of creating something uniquely mine. Each batch reflected my personality, mood, or the season, making the soap-making process incredibly fulfilling. Next, I’ll delve into how I catered to sensitive skin, ensuring everyone can enjoy these delightful jelly soaps.